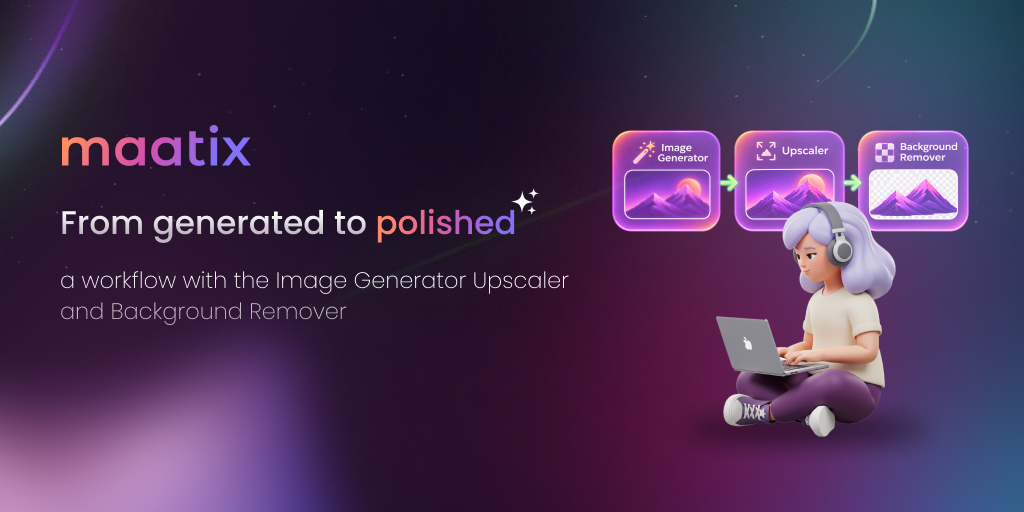
From Generated to Polished: AI Image Workflow | Maatix
Learn how to turn AI-generated images into crisp, professional visuals using Maatix’s Image Generator, Upscaler, and Background Remover, step by step.
We’ve all been there. You type a prompt, hit generate, and the AI gives you an almost perfect image. The idea is right, and the style is right, but it’s a little soft, the resolution is too small, and the background doesn’t fit your design.
The good news is that you don’t have to start over. With a simple AI image workflow on Maatix, you can take that “almost there” image and turn it into something polished and ready to publish. All you need are three tools: the Image Generator, the Upscaler, and the Background Remover.
Let’s walk through it together.
Why a Workflow Beats a One-Click Result
Generating an image is only the first step. Most professional-looking visuals go through a few stages before they’re ready for a website, a product page, a social post or a print design.
Thinking in steps helps you:
- Save time by fixing one thing at a time instead of regenerating endlessly
- Get better quality with sharper details and cleaner edges
- Stay flexible by reusing the same image across many places
- Look professional without needing advanced design skills
Step 1: Create Your Base Image with the Image Generator
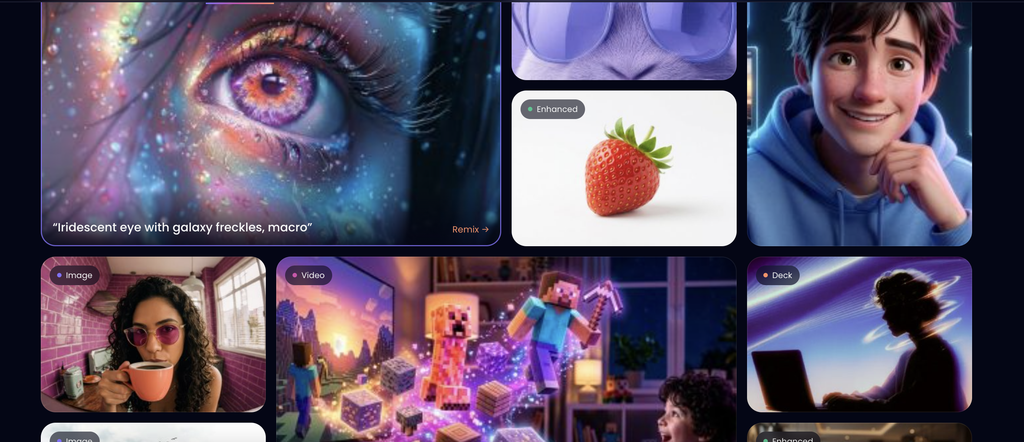
Everything starts with a great base image. Open the Maatix Image Generator and describe what you want to see.
Tips for better results:
- Be specific. Instead of “a coffee cup,” try “a white ceramic coffee cup on a wooden table, soft morning light, minimal style.”
- Mention the style. Words like photorealistic, flat illustration, watercolor or 3D render guide the look.
- Think about the final use. If you plan to remove the background later, ask for a clear subject with simple surroundings.
- Try a few variations. Generate several options and pick the one with the best composition. Don’t worry about tiny imperfections, because we’ll polish them next.
Step 2: Boost the Quality with the Upscaler
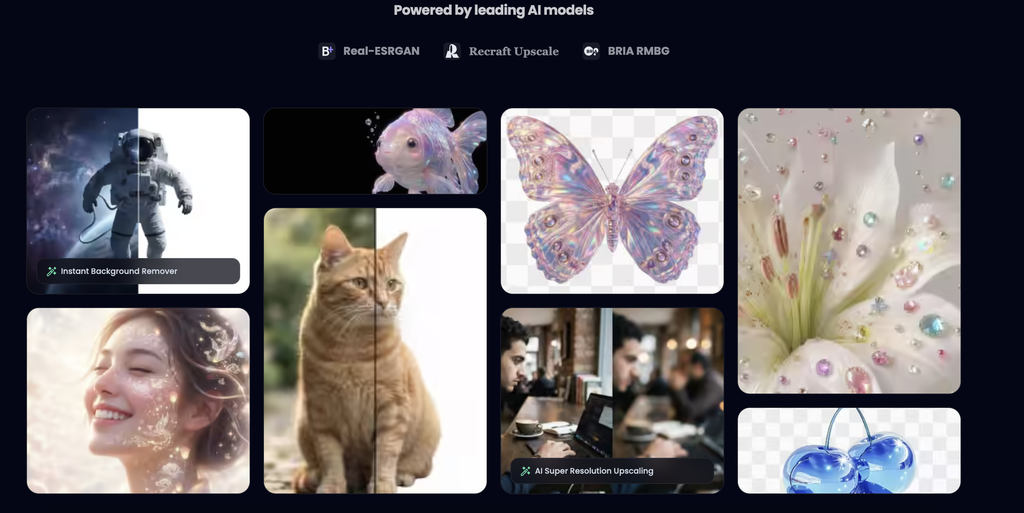
AI-generated images often come out at modest resolutions. That’s fine for a quick preview, but it can look blurry on a big screen, in a print, or on a high-resolution website.
This is where the Maatix Upscaler helps. It increases your image’s size and sharpens details, so your visual looks crisp instead of pixelated.
When to upscale:
- Before printing posters, flyers, or packaging
- For website banners and hero images
- For product photos that customers will zoom into
- Whenever your image looks a bit soft or small
Pro tip: Upscale before you remove the background. A higher-resolution image gives the Background Remover more detail to work with, which usually means cleaner edges around hair, fur, leaves and other tricky areas.
Step 3: Clean It Up with the Background Remover
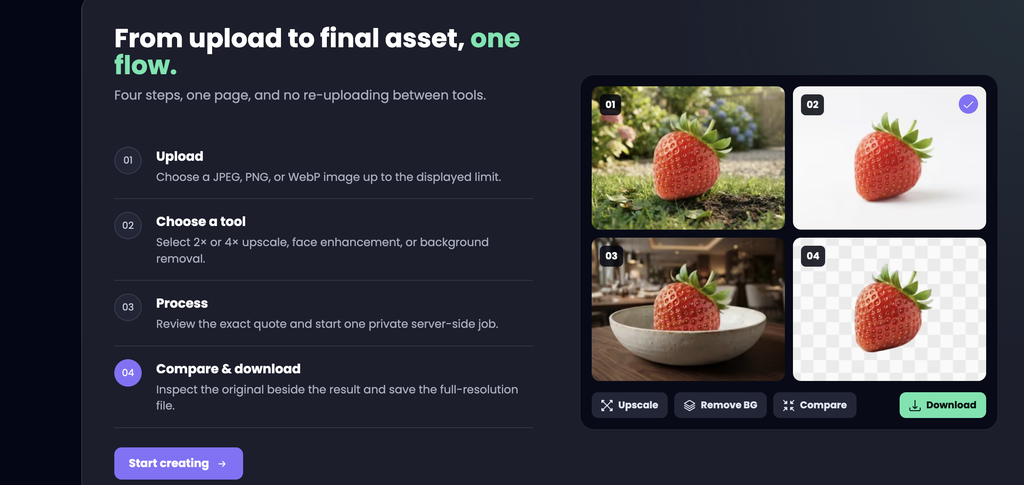
Now for the finishing touch. With the Maatix Background Remover, you can cut out your subject in seconds and get a transparent background.
Why does this matter? A transparent image can be placed anywhere:
- E-commerce listings with clean, consistent product shots
- Social media posts with custom colors or branded backgrounds
- Presentations and documents where the subject blends in naturally
- Logos, stickers, and mockups that need a flexible, reusable cutout
Once the background is gone, you can drop in a solid color, a gradient or a completely new scene.
The Complete Workflow at a Glance
- Generate: Create your image idea with the Image Generator.
- Upscale: Increase resolution and sharpen details with the Upscaler.
- Remove background: Isolate your subject with the Background Remover.
- Use it everywhere: Publish it on your website, store, social channels or print materials.
That’s the path from generated to polished, with no complicated software and no design degree needed.
Who Is This Workflow Perfect For?
- Bloggers and content creators who need eye-catching visuals fast
- Small business owners creating product images on a budget
- Marketers and social media managers building consistent, branded content
- Designers who want to speed up early drafts and assets
- Students and hobbyists exploring what AI can do
Quick Tips for Even Better Results
- Start with a clear, well-lit subject for the best cutouts.
- Keep your file names descriptive (for example, white-ceramic-coffee-cup.png) to help your website SEO.
- Always add alt text to images you publish, so they’re accessible and easier for search engines to understand.
- Save a transparent PNG version for flexible reuse.
Ready to Polish Your Next Image?
Great visuals don’t have to take hours. With the Image Generator, Upscaler, and Background Remover working together, you can go from a simple idea to a professional-quality image in just a few clicks.
Try the full workflow on Maatix today and see how easily you can turn generated images into polished, scroll-stopping visuals.
Leave a Reply